The View option displays the selected report on the screen in a similar format to the paper version:
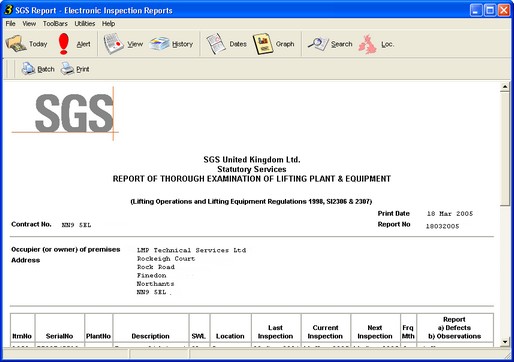
Normally, the entire report will not fit onto the screen, so a scroll bar at the right hand edge allows a view of the whole report to be obtained through scrolling up or down.
User Comments
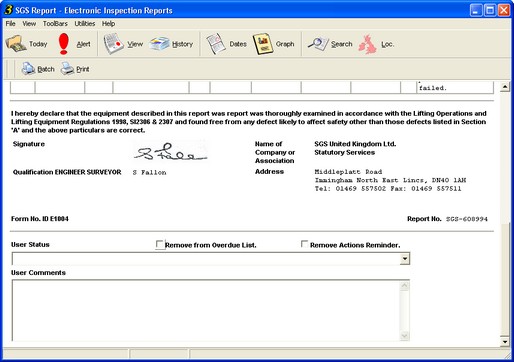
Uniquely, electronic reporting offers a User Comments section. This enables the tracking of actions performed as a result of the report and also allows the action and overdue reminders for a particular report to be disenabled:
To record a comment:
Field Name |
Action |
Result |
Remove from Overdue List. |
Single Click |
Once selected, the current report will no longer appear in the "Overdue Inspection" list of the Alert screen. |
Remove Actions Reminder. |
Single Click |
Once selected, the current report will no longer appear in the "Outstanding Defects" list of the Alert screen. |
User Status |
Click the drop-down arrow to right-hand end of box |
Select an option from the drop-down list to place a categorisation against the selected report. |
User Comments |
Text entry |
Click into the box under "User Comments" and input required text. Information input here will be stored with the current report and appear in subsequent printouts. |
Additionally, the following information will be automatically recorded in the User Comments section:
| • | If a report is emailed then the date and time the report was sent will be recorded. |
| • | If any amendments are made to the User Actions or User Status sections of a report, the user details, date and time and action carried out will be recorded. |
Printing a report
To print a copy of the report currently displayed either:
| • | Select File > Print from the Menu Bar, or |
| • | Click the |
The standard Windows print control box will then open offering a choice of printer.
If the selected report is too large to fit on a single sheet of paper, a page break will automatically be inserted at an appropriate point.
Exporting Reports
Reports may be saved to a file or emailed from SGS Report.
To email a report:
| 1. | Right-click in the Data Area of the report. |
| 2. | Select "e-mail report to..." from the subsequent menu. |
| 3. | Input the email address of the recipient(s) in the blank email which opens. |
| 4. | Add a subject line and any necessary message. |
| 5. | Click Send Message. The report will be sent as an attachment to the email. |
To save a report:
| 1. | Right-click in the Data Area of the report. |
| 2. | Select "Save As..." from the subsequent menu. |
| 3. | Navigate to the location in which the file is to be saved, select the appropriate file type from the drop-down list and set a filename. |
| 4. | Click Save. |